
My P5 Adachi Mod project project started out as a simple model and voice swap, and evolved into something larger. This detail may be easily taken for granted.
Persona 5 uses the same exact model format as Persona 3, 4 & 5 Dancing (GMD). Despite this, it wasn’t as simple as just copy-pasting Adachi’s GMD file into P5.
Let’s talk about the limitations of custom models, and how we got around them in order to make this mod a reality. After all, without Adachi’s model it would hardly have been an Adachi themed mod.
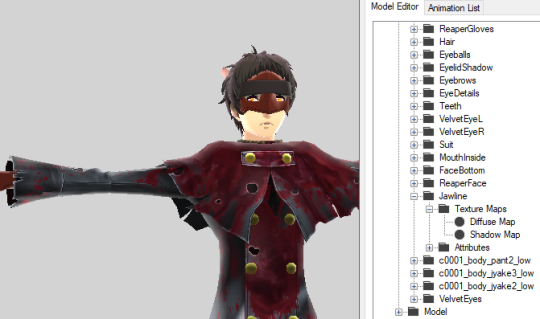
Cracking the GMD Format
GFD Studio is a Windows application by TGE that allows us to open, view, edit, import and export custom models, animations, textures, and materials in the GMD format.
The wait for GFD Studio (back when it was called AtlusGFDEditor) was long. It took over a year to develop the first release build. The first commit on Github was on March 16, 2017. On May 24th, 2018, AtlusGFDEditor was publicly released.
A few months before that, on approximately December 15, 2017, I began beta testing the program. We affectionately referred to it as “the rigger” due to its capability at that point to create fully “skinned” GMD models (capable of being animated, not in a t-pose).
TGE chose to test it by importing Demi-Fiend’s model from SMT: Nocturne. When it was my turn to try, I got started on Adachi. I was planning to import his model since the program’s development was announced.
A bit of backstory: AtlusGFDEditor didn’t even support opening or editing models from Persona 4 Dancing All Night until awhile later. We did, however, have a Maxscript capable of loading models and animations in 3DSmax since way before the inception of AtlusGFDEditor.
The first version of the maxscript came out on October 13, 2016. That’s about 7 months before Persona 5 was even localized, and almost exactly one month after the game was released in Japan.
Using this, we could preview the contents of GMD models and document which ones were which. This also helped us achieve some of the earliest model swaps. Due to limitations of the game engine, model swaps were largely unplayable due to game-breaking bugs:
Editor’s note: my PS3 booted for the last time shortly after recording this video. It’s cursed.
As you can imagine, swapping models from the same game was too problematic without heavy editing. Without AtlusGFDEditor, porting a model from P4D was out of the question. Putting Adachi’s GMD in Persona 5 simply crashed the game. But thanks to the maxscript I could at least prep the model for the eventual swap.
There were several components of P4D’s models that needed modification to work in P5.
First of all, the materials were incompatible between games. We need to use materials from Persona 5 as a base to ensure that a crash doesn’t happen. We refer to this as a Material Preset.
Second of all, the game checks the version ID of the GMD. For P5 it’s 0x01105070 and for P4D (which entered development earlier) it’s 0x01105040.
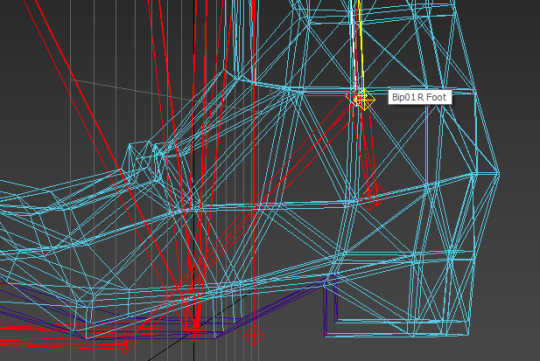
Finally, for playable characters the game crashes if their Foot bones aren’t present. The rigs in P4D are so different from P5 that the bones aren’t named in the same fashion, causing the game to panic. We assume this is due to the game using the position of the feet to determine when to play walking sound effects or show distortion effects (like in Palaces).
Rigging the Model
Even with GFD Studio released and stable, I couldn’t just make this model from P4D use P5′s animations. It was necessary to use Joker’s skeleton and skin Adachi’s model to it.
To put it simply, this meant taking Joker’s model (consisting of meshes and bones), deleting his meshes (leaving the bones) and skinning each of Adachi’s meshes to it.
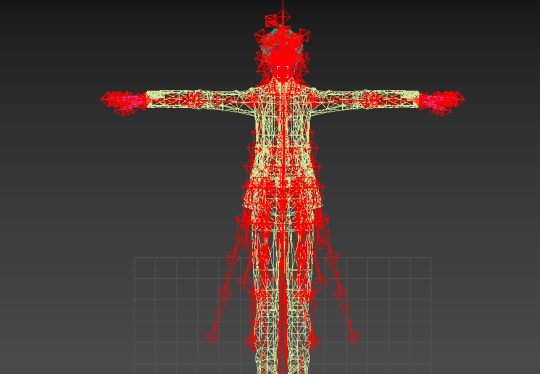
This also required casting aside the original skin data for Adachi and starting from scratch. Luckily, by then I had experience with rigging thanks to previous endeavors with Persona 4, Breath of the Wild and Super Smash Bros. Brawl.
Shameless plug: We have a video demonstrating the entire process of porting a Dancing model to Persona 5 that you might find interesting or perhaps even useful if you want to undergo this process yourself.
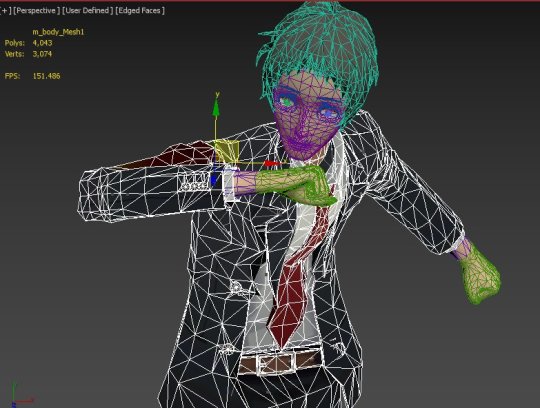
To make a long story short, it took a couple months to perfect the rig, even with prior experience. Adachi’s jacket and tie were the most difficult, as well as his mouth and eyelids. No matter how close I tried to scale the model’s proportions to match Joker’s, some things would just tend to clip. Adjustments required lots of trial and error.
The maxscript eventually supported loading all animations in a GAP file and cycling through them. This helped loads with previewing changes to the skin in real time, as well as ironing out problem areas like the tie and face. Kudos to TGE for that and everything else!
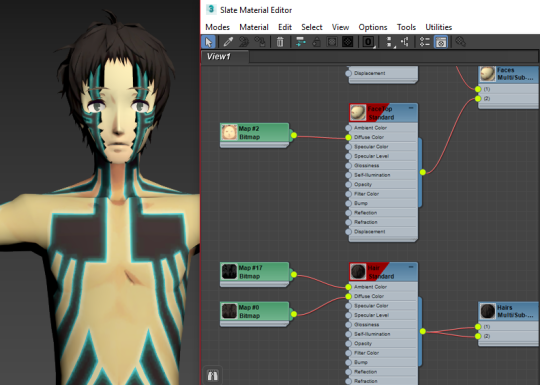
Dealing with Materials
You can use a Material Preset to give every mesh in the model the same material properties. These control things like ambient lighting, alpha transparency, reflective and diffuse color, as well as other things like draw order and edge lighting.
Materials are meant to achieve a range of different visual effects handled by the engine’s shaders. One of my favorites was that from the front, Joker’s jaw has an outline that clearly separates it from his neck. But from the side, you don’t see an outline separating his head and neck.
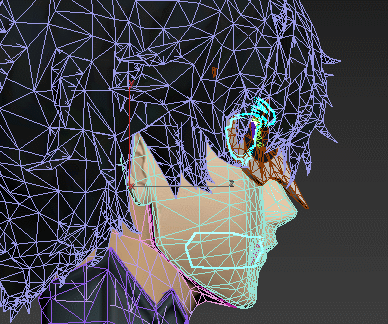
Each of these highlighted meshes have different materials with unique settings regarding the outline at the edges of the model. For instance, where the face connects to the jawline, an outline isn’t rendered, but when the face overlaps with the neck, it is. But where the jawline connects to the neck, no outline is rendered.
In short, the jawline mesh goes between them and acts as a way to bridge the gap. That way, the outline isn’t rendered all the way around where joker’s head and neck connect. Pretty ingenious! The facial feature meshes like eyeballs and eyebrows also have special properties that prevent an outline from rendering so you don’t get this weird mascara effect from before we figured this all out:
(Pictured: the result of using Joker’s face material properties for Adachi’s entire head and facial features. It turns out the unique aspects of the other materials are necessary for the outline to look proper)
Similarly, see that thick line above his eye? At first we thought those were his eyelashes and that they were supposed to look like that, but taking a closer look at P4D footage, it was meant to be the eyelid casting a shadow on the eye… Oops. Materials save the day again! By lowering the opacity, later on we got it to look right.
Additionally, things like getting his hair, suit and hands to have a consistent, good-looking shading style took several attempts at borrowing materials from different P5 models. In the picture above, his hair was too bright and his clothes were too dark.
While playing around with concepts for his Phantom Theif suit, we discovered a unique type of texture map that P5 materials utilize.
What makes them so unique is that they can be used for horizontally scrolling texture animations. An attempt was made to give Joker’s PT suit Magatsu Izanagi’s iconic vein animation. It looked great, but unfortunately crashed at the start of battle due to something about the HUD conflicting with it.
Working with Several Models
Adachi’s model from Dancing All Night was originally planned to just replace all of Joker’s models, akin to the original Persona 3 FES mod I made years ago.
After skinning the Dancing All Night model and making it presentable, I posted a teaser video. In it, Adachi’s trademark suit replaced Joker’s metaverse costume. While the response was overall encouraging, some felt that the suit seemed out of place:
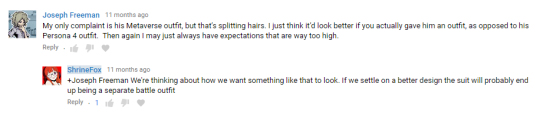
Initially, I didn’t think it would be a big deal. It seemed no different than using one of the many DLC costumes in Persona 5 that put Joker and company in casual outfits. But at this point, we saw the opportunity to turn this into a custom campaign complete with its own DLC variations of Adachi.
The hard part was over. We had full control over the GMD format. We could re-use the parts of the Dancing All Night model we already skinned (his face, suit etc) so making more models based off of it seemed trivial. It was just a matter of keeping further changes to the materials, textures, and skinning consistent across all of them.
We made a copy of the 3dsmax scene for each model and kept them in their own folder on Google Drive. Once the model was skinned, we’d use GFD Studio to convert it to GMD.
Textures shared by multiple models were also stored in their own Google Drive folder for convenience. The materials that reference these textures were also kept in a unique folder.

All of the materials were based off of existing P5 materials. We renamed them, changed the textures they reference, and sometimes made minor alterations to their properties.
In the above image, several materials shared by other models are used. The ones specific to Adachi were given a user friendly name. We kept materials consistent between models by always saving the latest changes to the Materials folder. Updating older models to use the new materials was easy, since we could just open the folder and replace them with the latest materials of the same name.
Even in 3DSmax, we were careful to keep the Material names consistent. That way, once imported into GFD Studio, updating the model’s materials with our carefully hand-picked ones (rather than the Material Preset) would be simple.
We ended up with a large collection of custom and edited models. Each of them were ready to be renamed to match the file they’re replacing and go in-game. There were other steps too, of course, such as editing the costume names and descriptions, but we’ll talk about that later.
There was still one last challenge remaining.
Fixing Animations

This is Adachi’s final model folder, which you can see for yourself by downloading the mod. Not only are there replacements for each of Joker’s GMD models, but a battle folder containing GAP files called “battle.”
GAP files can contain several animations. They tell the game how to transform the bones (translating, rotating, and scaling them) according to keyframes. The animations in Persona 5 are absolute, meaning the coordinates of each bone are NOT relative to its initial position.
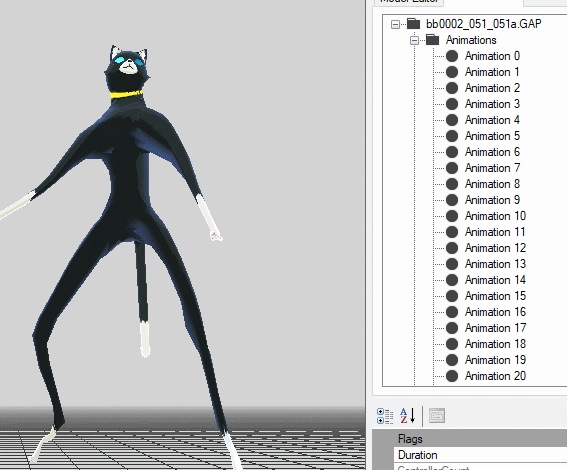
For example, here we see Morgana with Ryuji’s animations. Similarly named bones get moved to the position of Ryuji’s bones, resulting in the stretched mesh.
At least with Adachi, all the models were the same height and used the same bones. So it shouldn’t be an issue, right?
Well, here’s where it gets annoying.
The different “modes” of Persona 5′s gameplay (the life sim, the overworld, battle, story events) were all probably programmed by different people simultaneously. This gave rise to some inconsistencies in how animations are handled.
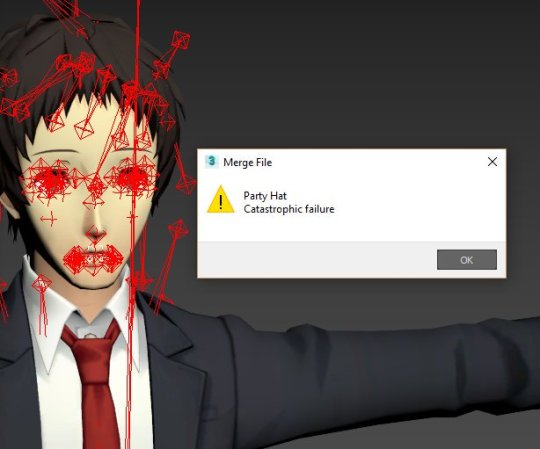
In the overworld, animations use bone names to determine which bone gets transformed. In battle, bones use a nondescript list of IDs instead. It turns out to be the phenomenon behind that unfortunate Igor video from earlier.
Finally realizing that, GFD Studio gained the functionality to compare two models and then update the bone IDs of an animation to take the difference between bone positions into account. This is often called “Retargeting.”
Each of Joker’s models, for some asinine reason, have their own GAP file with the bone IDs in a different order even though each of his costumes use the same exact animations. It’s unknown whether certain costumes were planned to have unique animations (ala Persona 4 Golden), but we speculate that’s the case.
Either way, by comparing our new Adachi models to the original Joker models and converting the GAPs for each costume, we were able to salvage the mod from the following fate:
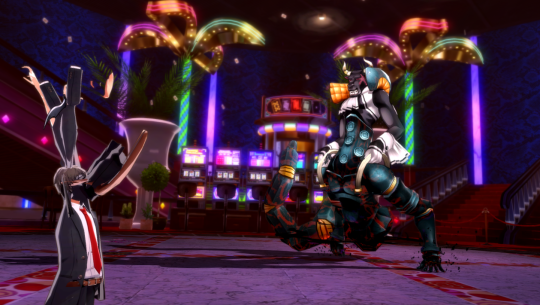
Enjoy the nightmares.